


Multifunction Jobsite Table

Jobsite Clamping Table
My job site assembly table has always been a cut off a sheet of plywood and two sawhorses. Inspired by a Paulk Workbench I have in my shop, I decided to mimic the tabletop design for my Multifunction Jobsite Table.
Multifunction Jobsite Table
I needed a flexible Jobsite solution. That meant I wanted to be able to achieve the following:
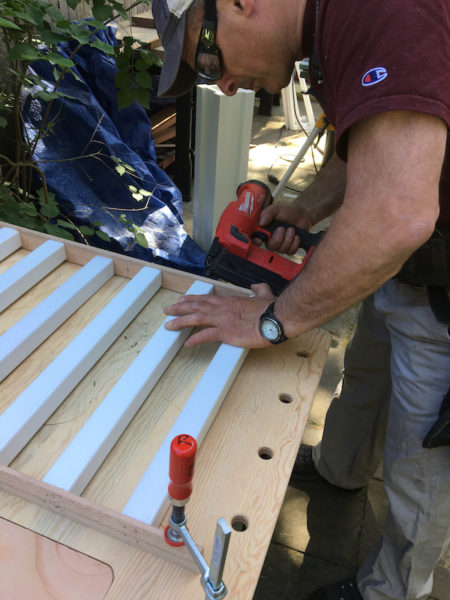
- Workbench for sanding and joining parts
- Router table insert
- Clamping table
- Assembly table
- Quick miter saw table
Space-Saving Efficiency Drives My Goal
To me, it’s a simple, but often hard to achieve, quest to be more efficient and organized and efficient. When I do achieve those two goals, I tend to be more effective and productive on my projects. Time is money, and more time on task, and less time setting up or searching for tools, means the project is completed in a timely fashion.
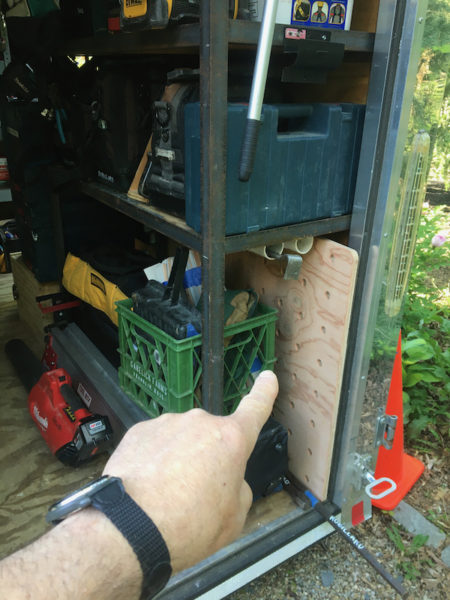
I specifically wanted a tabletop that would store under my trailer shelves, out of the way, when not needed. My trailer is like 10 lbs. of flour in a 5 lb. bag – there is no room for something new that takes up space.
The Multifunction Jobsite Table a flat stable surface; it allows efficiency to flow.
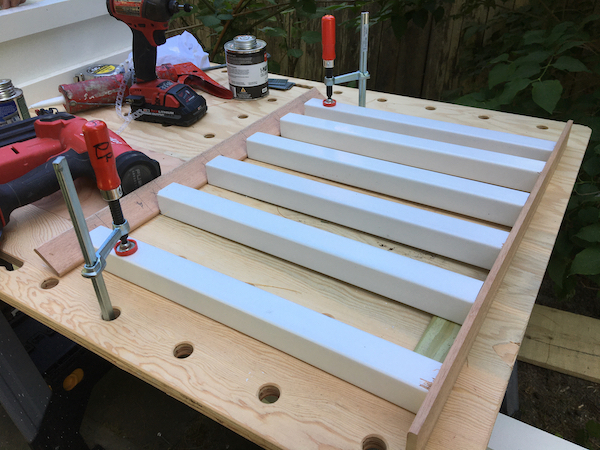
Multifunction Jobsite Table – Clamping Function
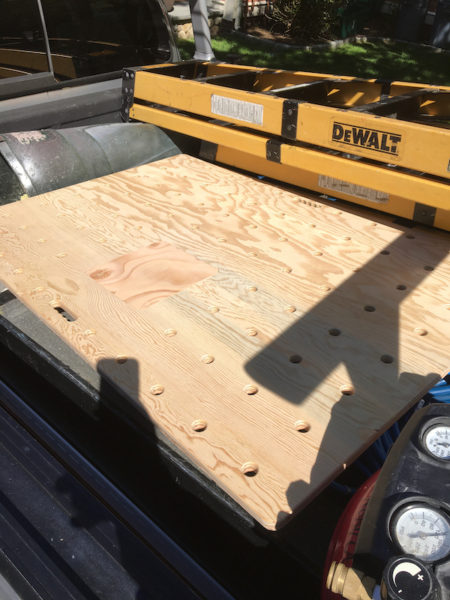
The Multifunction Jobsite Table is constructed out strong ¾” AC grade plywood. This bench will last a long time. I measured the space under my trailer shelf and cut the plywood to that dimension minus 1-inch. The final measurement was approximately 30” x 72”.
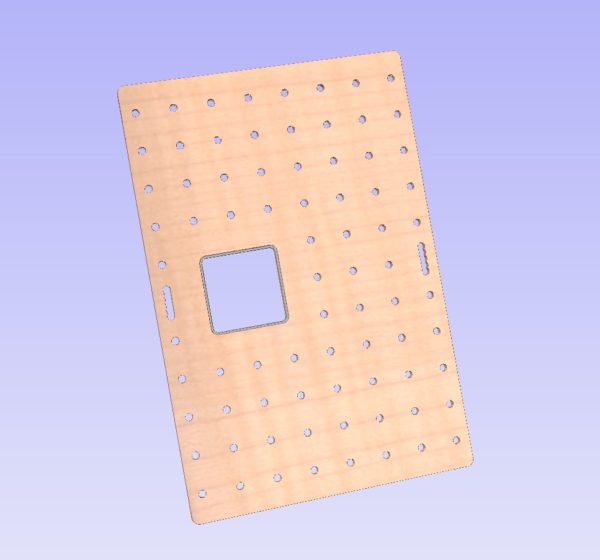
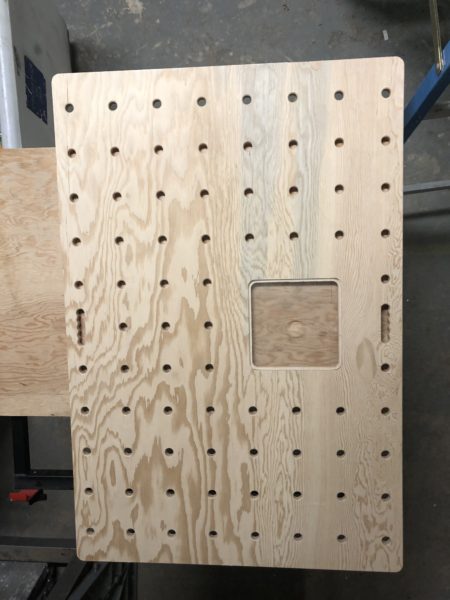
I had a friend mill the tabletop on his CNC machine. His machine the router insert, 2 handholds for carrying the table one-handed, and lots of 20 mm clamping holes. The clamping holes even chamfered the hole tops – nice touch.
Multifunction Table – Adjustability and Flexibility
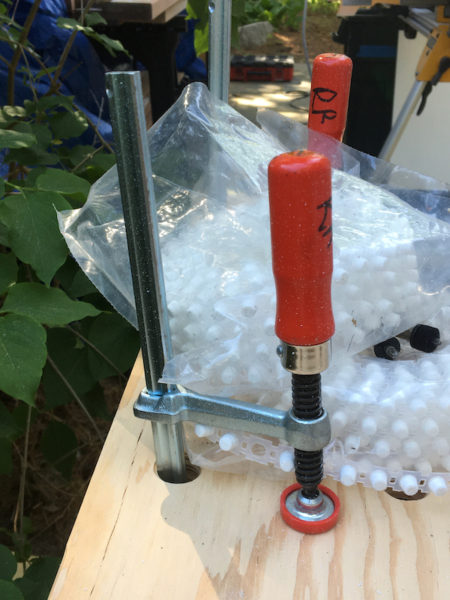
One thing I really like about this design is its flexibility. I am able to use the 20 mm, 4-inches on center holes on the tabletop as a table-wide clamping surface, making it an effective clamping station.
Multifunction Jobsite Table – Router Insert
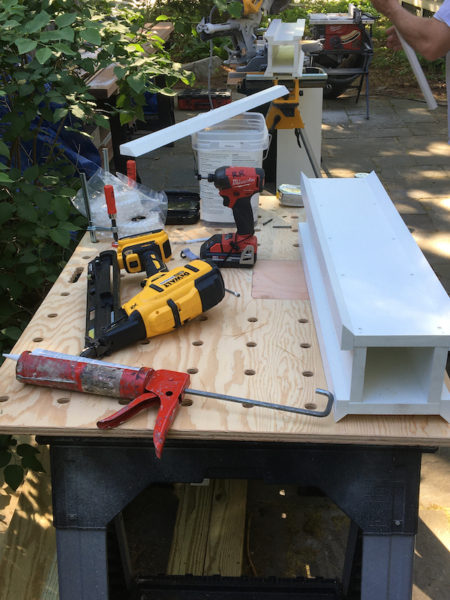
A special cut out in the tabletop allows me to drop-in my Porter cable router mounted on a plexiglass plate into the recess. The cut out has a rabbit that is the same size as my plexiglass router place. I find this a safer and better alternative when milling window sill stock.
The drop-in router insert allows me to replace a portable stand-alone router table, freeing up valuable trailer shelf/floor space.
Multifunction Jobsite Table Cost
The Multifunction Jobsite Table cost was minimal. I purchased a sheet of AC plywood at $45 and a pair of plastic sawhorses $35.00 and the Bessey F-Style clamps were $30.00 for the pair.
I figure it would take me a half-day to make this table assembly if I didn’t have the CNC machine.
Final Thoughts
I was impressed with the quality and flexible features of this table design– it’s truly a multi-function Jobsite table. I wish I could have a larger tabletop now!
The process of the job site and trailer efficiency varies wildly depending on how you work. Efficiency and organization is a process that is constantly being tweaked, overhauled. This process can take months or years to fine-tune. Especially as we learn what works and what doesn’t work in terms of operation, storage, and features.
I hope you find your solution!
About the author
Rob Robillard
Robert Robillard is a remodeler, general contractor, and principal of a carpentry and renovation business located in Concord, Massachusetts, and serves as the Editor of Tool Box Buzz and founding editor of A Concord Carpenter . Rob is in charge of our Tool and Product Review - Tool and Product Review - Video Channel, , where we post all of our tool reviews and video tutorials. Rob enjoys using his knowledge and experience to help and educate building professionals as well as DIYers on best practices in the remodeling industry. The Concord Carpenter's motto: "Well done is better than well said!" : Read more about Rob
http://www.aconcordcarpenter.com/@https://twitter.com/robertrobillardRob Robillard
1 Comment
Leave a comment
Disclosure
Product reviews on this site contain our opinion of a product or service. We will always strive for objectivity and transparency in our reviews. Our goal is to provide readers with honest, objective information based on our own experiences. We never have and never will accept payment in exchange for a positive review. Many of the products that we review are provided to us for free by a manufacturer or retailer. In some cases, we also have advertising or affiliate relationships with manufacturers and retailers of products and services we review. For additional information please visit our additional disclosure policies.


I enjoy posts like this great job on your build, I did a similar build a few months ago inspired by Carpenterone3 from Instagram using the kreg saw horses with the aluminum channel in the top for more clamping opportunity